DiagnosisBy now we are able to see the four tiny switches which provide the hat switch one each for fore, aft, left and right, and a combination of pairs for the corners:
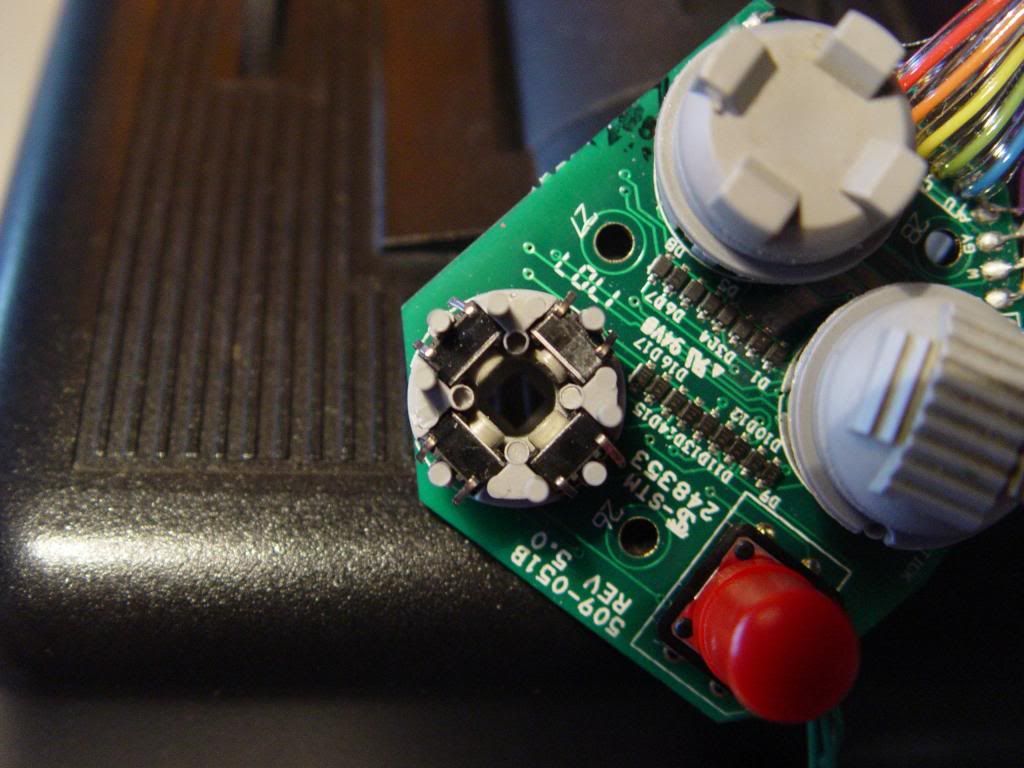
Let's now test the blighters. Make sure your tools are to one side to prevent short circuits and then plug your stick in. Get the windows peripheral program working, the one you use to calibrate the stick outside of the game (I'm afraid I don't know what it's called), or a peripheral diagnostics tool if you use one of those. I use a Mac and have a program called: 'Joystick and Gamepad Tester' which I found when I made my throttle, but anything which lets you see how the computer experiences the switches will do.
Take your phillips screwdriver and depress the little buttons in turn. With my stick the six view switch was dead, no click under pressure, like it was permanently depressed. The other three worked fine. I decided to replace the switch with a new one.
If your switches work, skip through the next section and go to
Cover Modification.
Switch ReplacementIt would be logical to replace all of the switches if one of them is dead. The reasoning being that if one if worn out, the others might not be that far behind. I didn't do this because I was in a hurry and expect to shortly replace this stick anyway. Also it simplifies the tutorial.
The switches are pushed through a rail in the grey plastic, and held in position by having the two pins soldered in place. These are the two positions on the circuit board for these pins. This picture was made
after I had removed the switch:
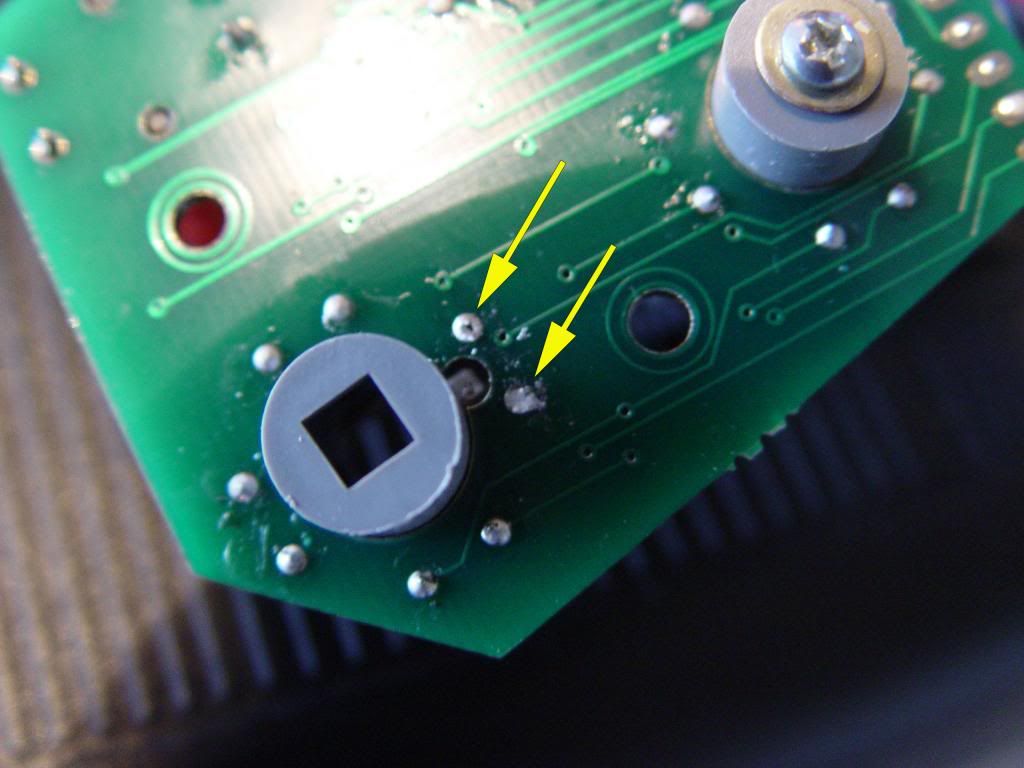
Do not worry if the solder does not clear leaving two small holes on the circuit board. We will re-use that solder later.
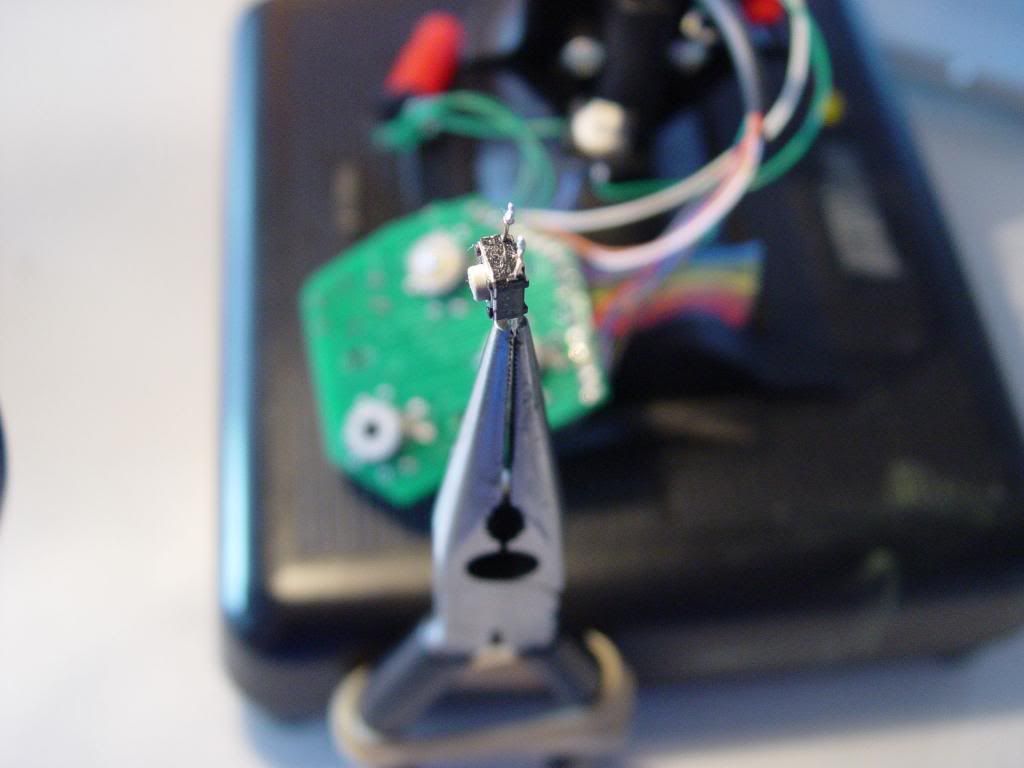
I didn't have a desoldering gun to hand anyway (which is the normal tool to remove the molten solder completely), and since you must release both soldered pins simultaneously, I improvised a way to remove it. I bent to unused pins straight out and used a pair of pliers with a rubber band wrapped around the handles as a sort of clamp-on weight, hanging the pliers off the pins. Then I turned the panel upside down and applied heat to the soldered joins, first heating one, and then flicking between them both. With a satisfying thunk, out came the switch and pliers together.
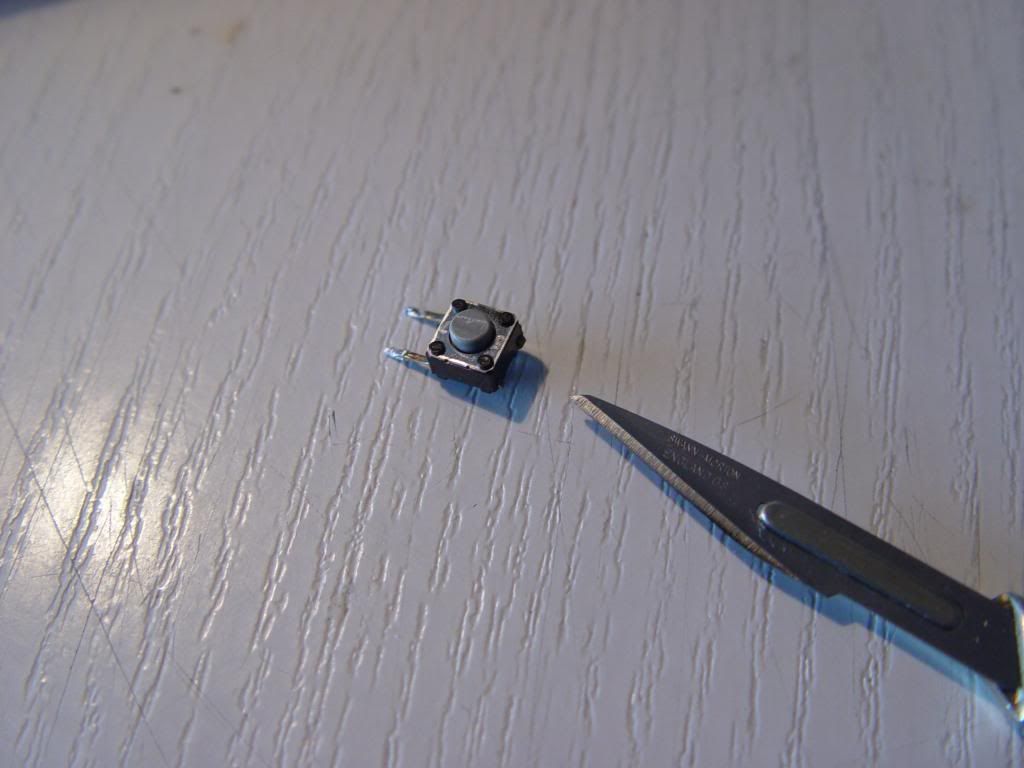
Here's the little rascal. you can just see a conical area of wear on the swtch. This accounts for the dust you will most likely find on the shaft of the hat. These switches contain a dished metal disk which both gives you the click feel as well as the spring and contact. Dirt, plastic dust, arcing and general wear is usually the cause of your problems:
I had a similar switch in my stock, but they can also be bought at the Radio Shack in America I understand and online from electronics suppliers. If the cylinder which protrudes is shorter than the original you ought to superglue a thin piece of metal or hard plastic on until it is the same length. I didn't do this and had to make a more complex workaround later.
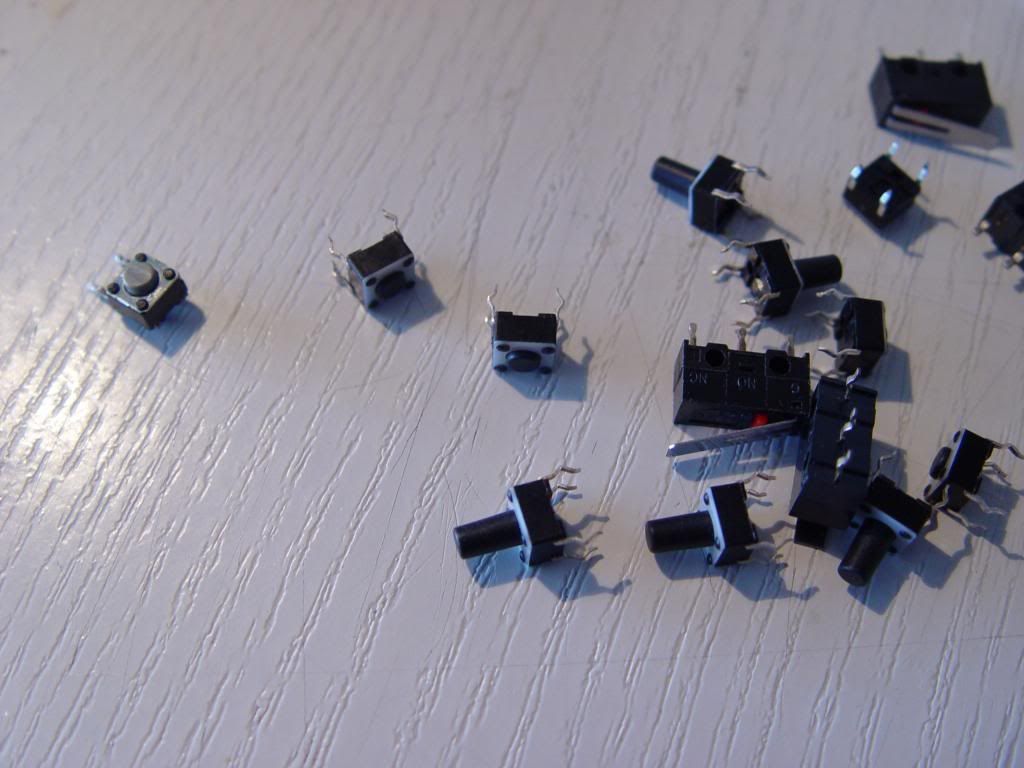
Bend the pins like this, take any kinks out of the straight ones with pressure from a pair of pliers. Bend the unwanted ones over, just like the original.
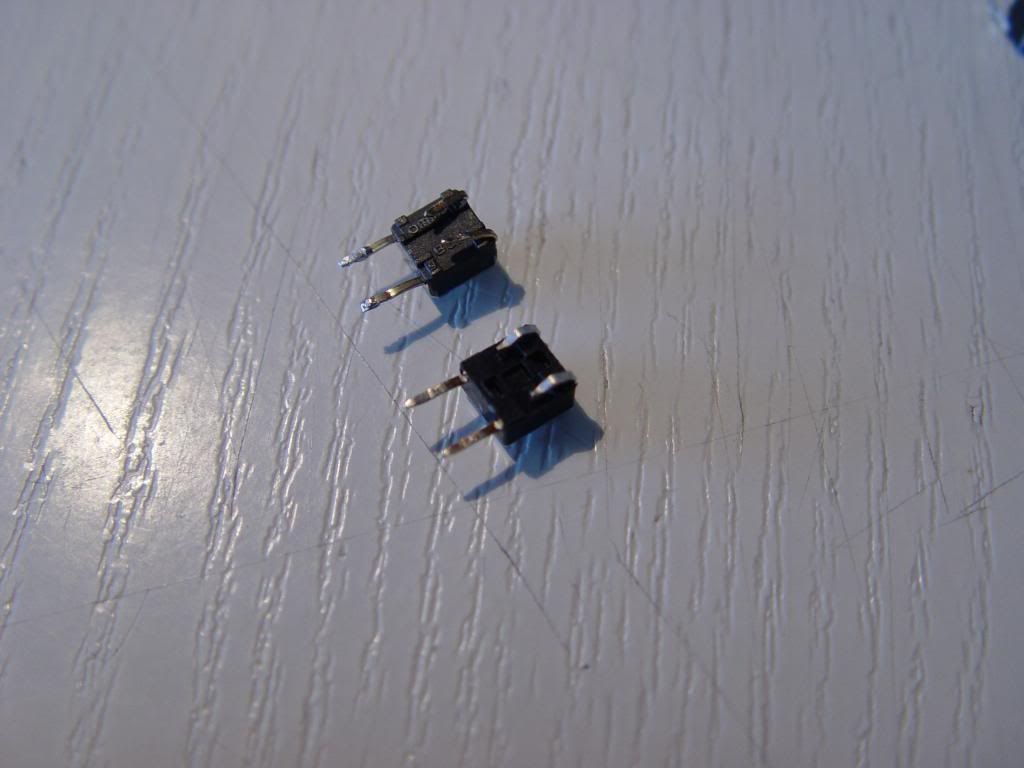
This is the approximate angle viewed from the side (sorry about the focus in this shot):
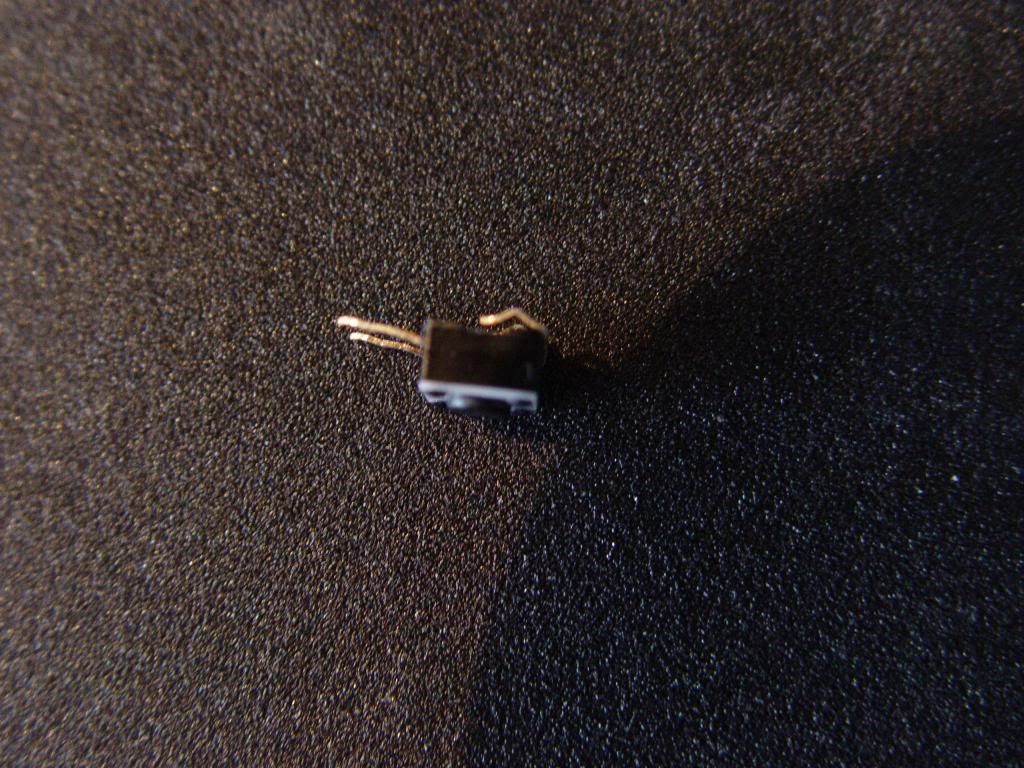
Now gently push the switch into place.
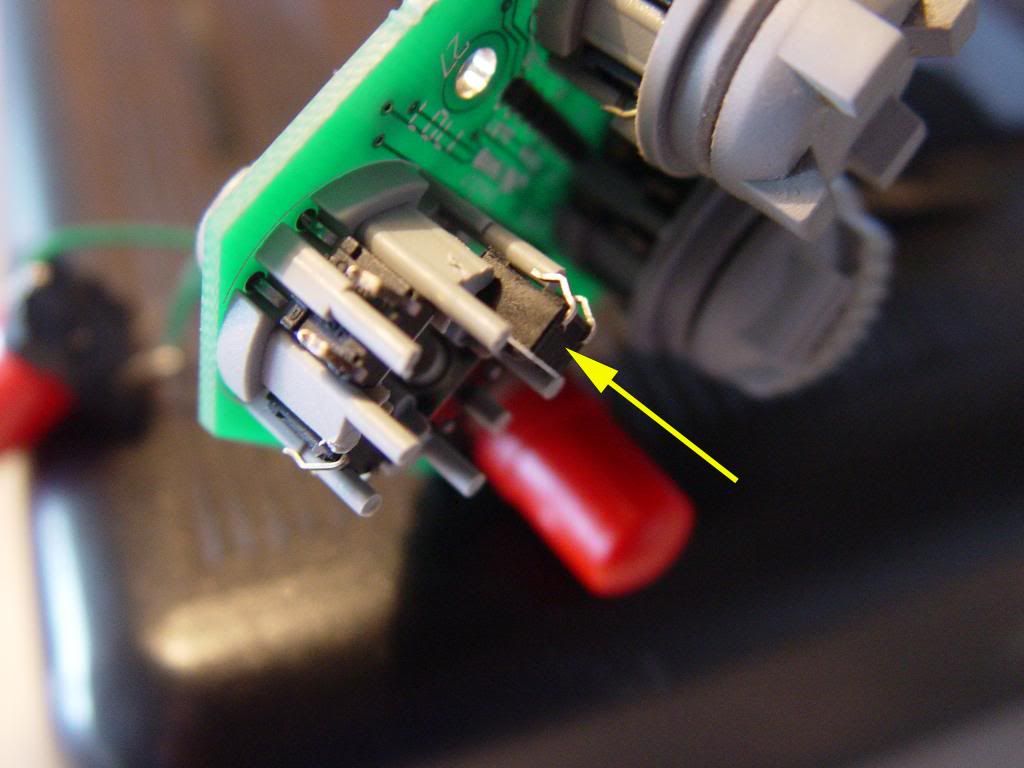
Flip the board over and apply heat to both of the solder joints in turn so they both get hot together. With a bit of fiddling around, the switch will be seated in the bottom and be soldered in place. You will see the new pins slightly sticking out the circuit side. Ensure the replacement switch is at the same depth as the others. If it doesn't go in easily your pins probably need adjusting.
Now we must check our work before we go further. Repeat the test above by pushing the switch with a screwdriver and see if the computer sees it. If it does your soldering has been successful. If not remove and try again.
Cover ModificationWhen I put the cover back in place and tested the switches with the hat pushed in, the computer did not see the switch activation. In my case this was because my switch was a tiny bit lower, but could also be because of wear on the hat switch shaft too. I widened the cover until the computer saw the inputs with the cover and hat switch in place. You may have to do this too if the switch works with the cover off, but not with the cover on.
A sharp craft knife is best as the plastic is soft. Don't do too much, shave a bit, test it, repeat. Take some time to get this right.
This is what mine looked like part way through:
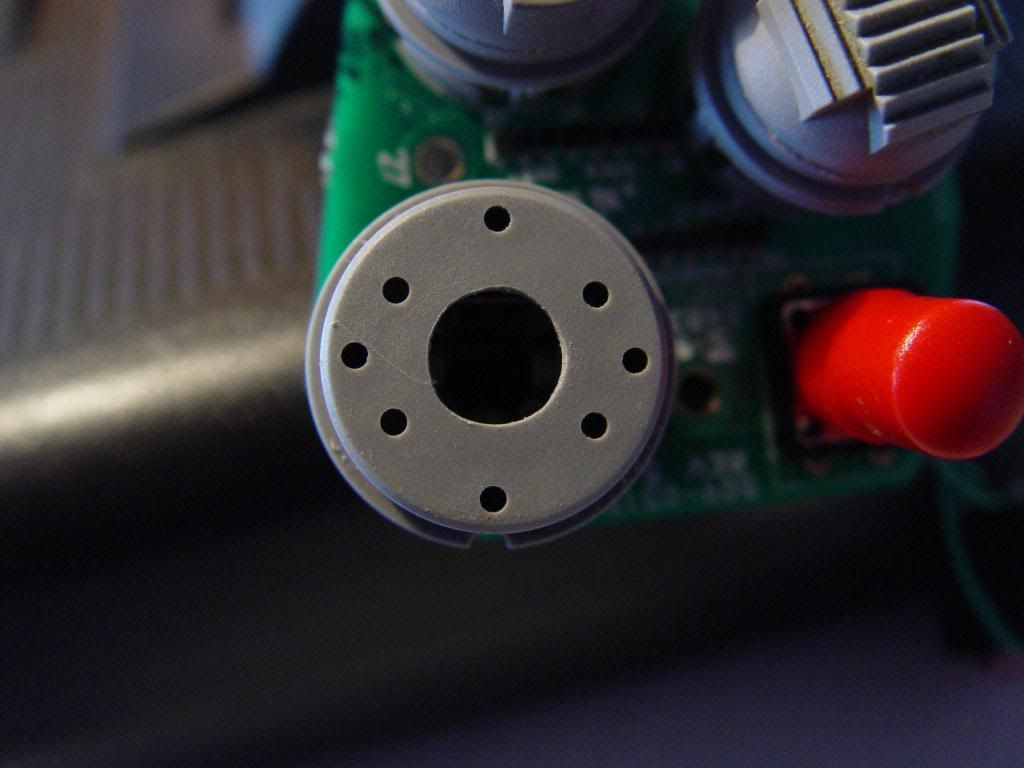
When replacing the cover align in thus (picture pre-modification):
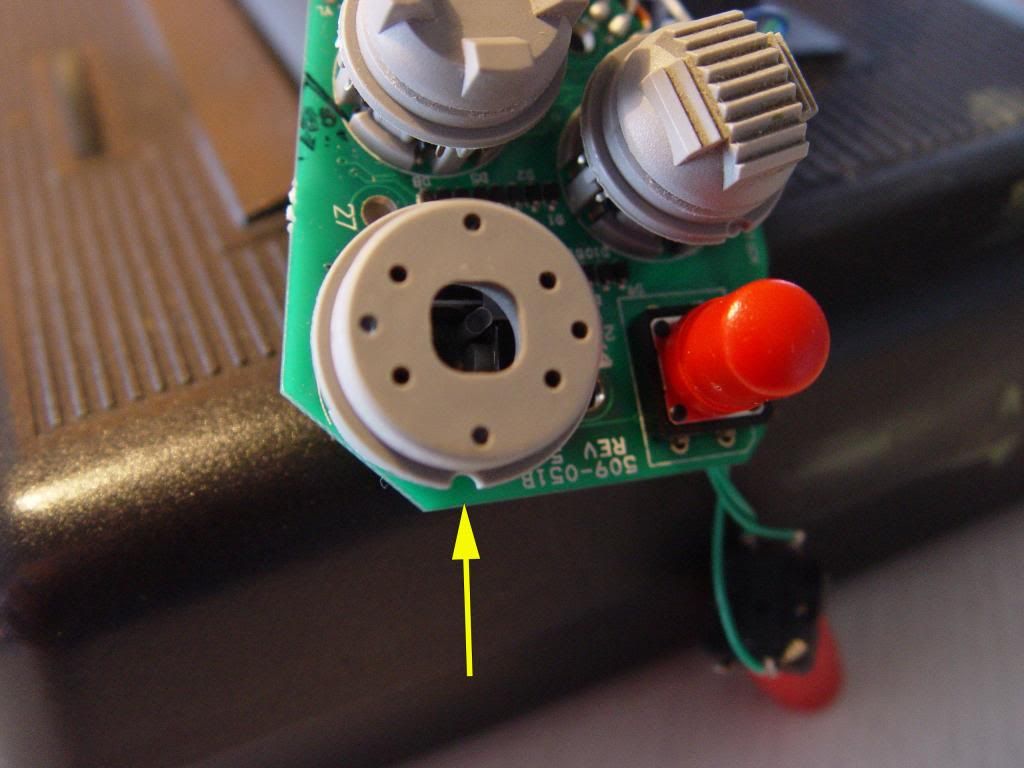
Push it gently on without letting it tilt over it and make sure it is pushed down to the stops.
Once the hat is working fine and all eight positions on the hat are easily accessible, it is time to re-assemble.