Whats the story on the one with the trolling motor?
I bought that POS at a garage sale for $35, because it was only $35. Its fiberglass, flat bottomed like a canoe and as wide as a canoe. It leaked like crazy, so I reglassed the bottom. The molded mini keel promotes cracking and the floor is so flat that it has to flex with any weight in it.
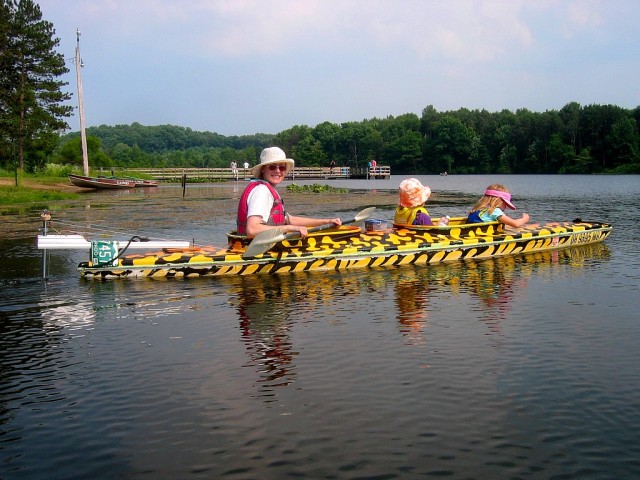
My wife and I have taken the two oldest out with one parent and one child in each hole. The thing is stable but slow and its with makes paddling a little awkward.
Anyway, We stopped using it so I hooked a $3 garage sale motor to it just for yucks. It has foot -pedal-rudder steering and a motor lift mechanism. I modified it with nothing but junk that was laying around. It now weighs about 80 pounds without the battery.
Oh heck, Ill just copy & paste from last years blog:
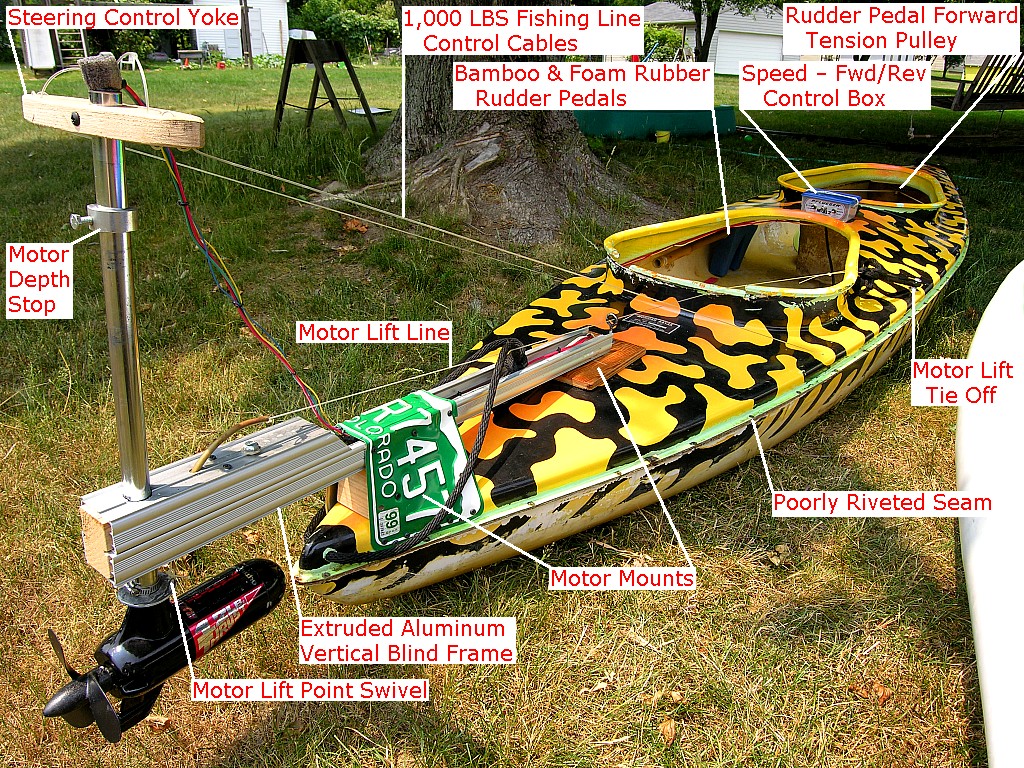
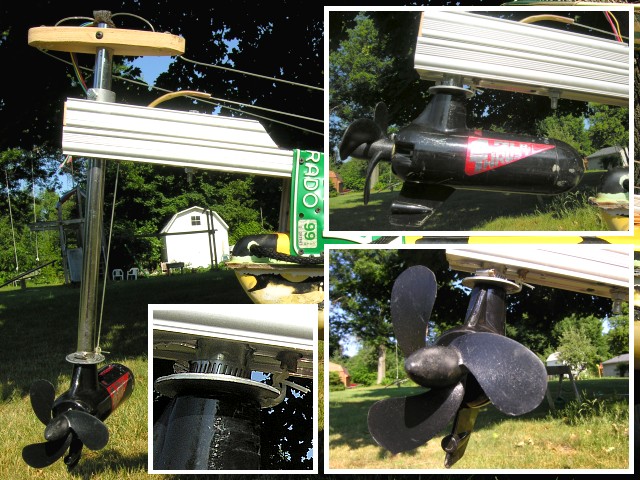
They say a picture is worth 1,000 words; this one must be worth at least 1,049! The challenge on this project was to take a regular small electric trolling motor and convert it to remote foot pedal steering and remote lifting without the paddler having to exit the rear hole. I figured that remote motor lifting would be critical so the prop could be cleared of weeds and the motor could be lifted in shallow water. It also would be nice to have it out of the water when paddling only. Another complication was that the motor needs to be able to turn 90 degrees when in the full up position so the prop can be viewed from the rear hole and cleared of weeds with a three foot stick. To solve this, I tied 1,000 pound fishing line to a big washer just above the motor. An ordinary hose clamp keeps the washer from sliding up the main shaft but still allows the shaft to turn within the washer.
When considering how to fabricate rudder pedals with the least amount of effort I considered a few ideas that involved sliding some sort of a rod through a mounted guide, much like the pedals on the other boats. None of the materials that I had on hand pointed to this option, however. The other basic idea involved rope as a guide that would keep forward tension on the pedals. In the end I went with a three foot section of bamboo through a chunk of high density foam rubber as the actual pedal. The foam blocks have two pedal surfaces; one for a 6' tall paddler (me) and the other for a 5'6 paddler (Joan or Bill). In just a few minutes I could modify the system to fit Svea or Brigitta. Forward tension is achieved through a pulley near the bow. The control lines basically make a loop from stern to bow and back; the boat could be steered left or right with only one pedal. A final complication is that when the motor is raised both control lines move back to make up for the steeper angle of the control lines. This was solved with a bungee cord that holds the front pulley; when the motor is raised, this bow bungee stretches.
Yes, the speed and forward/reverse control box is just a Tupperware container. What can I say, it's light, semi-watertight, just the right size and on hand. And yes, the rear motor mount is made from a block of wood and our old Colorado license plates. Once again, cheap, light, strong but twistable and most importantly: available.
It all sounds and looks terribly convoluted but the entire modification used only found materials, went together fairly quickly and works remarkably well.
I'm not happy with how the top and bottom parts of the fiberglass hull are held together. Originally it was pop riveted together with a C-shaped plastic trim glued over the raw edges. Many of the rivets have broken and the plastic trim no longer fits correctly in many places. Bill added a few rivets which has helped much but the entire seam is pretty shoddy, even by my standards. I'm contemplating sewing it together with a non corrosive wire and then glassing it over. My gallon jug of resin is almost empty, however. I may have to purchase more.
Boat weight: 81 pounds (without removable 16 pound lawn tractor battery).
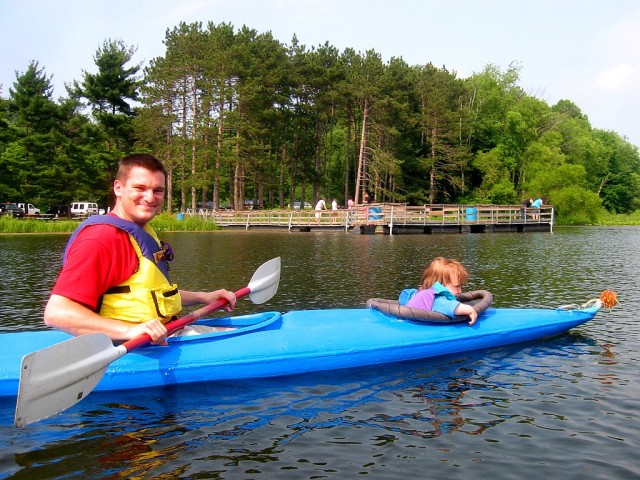
The blue one was my first boat; last year I chopped it up and made it a three hole: